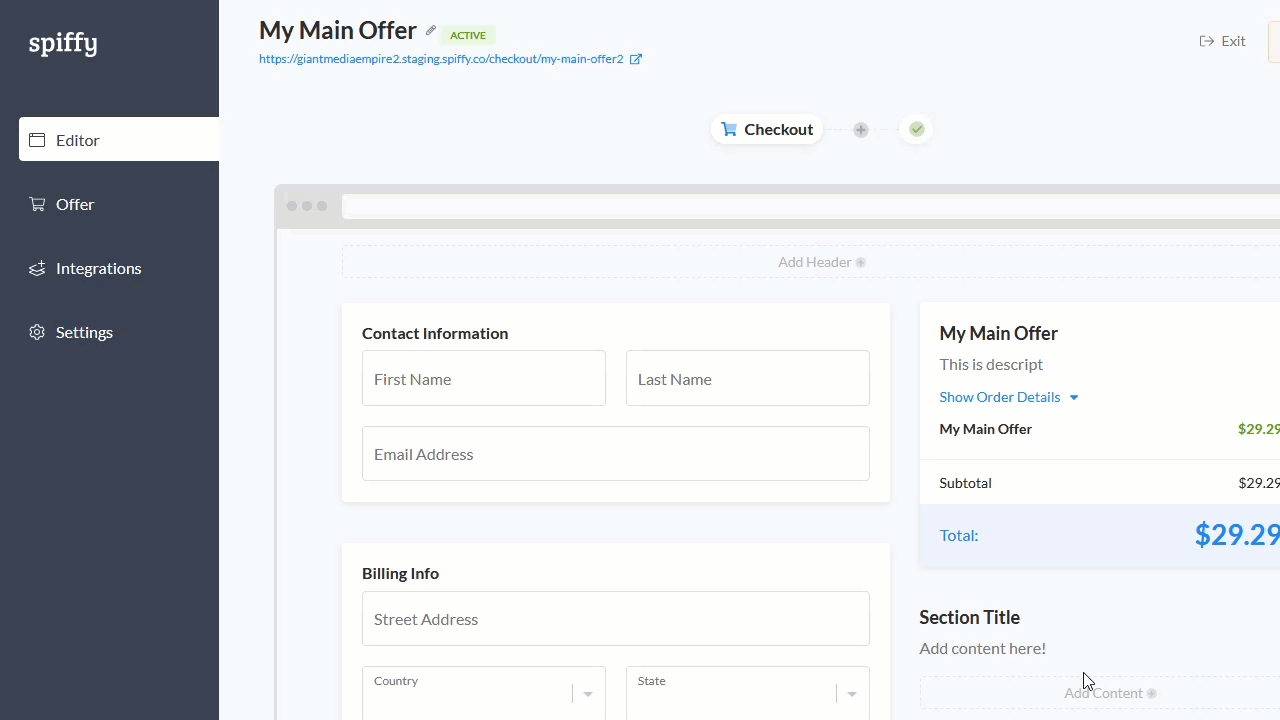
Add inputs to your checkout to collect extra information from customers.
Inputs are a type of block you can add to your checkout to collect extra information from customers. There are different types of inputs that let you customize how customers interact with your checkout. By default, checkouts are pretty minimal to keep buying friction low but you can add as many inputs to a checkout as you need.
Table of Contents
Types of Inputs
Each type of input has its own special features, validation, and optimized keyboard on mobile (eg, number pad instead of full keyboard). Here are the types of inputs you can use on your checkouts:
- Text Input – Your standard multipurpose input
- Number – For collecting numbers, eg ‘age’
- Email – For collecting emails
- Telephone – For collecting phone numbers
- Password – For securely collecting passwords
- Link – For collecting URLs, eg ‘Website’
- Price – For letting your customer set a custom price, eg donations, pay variable invoices
- Textarea – For collecting larger blocks of text, eg ‘Special Instructions‘
Add an Input
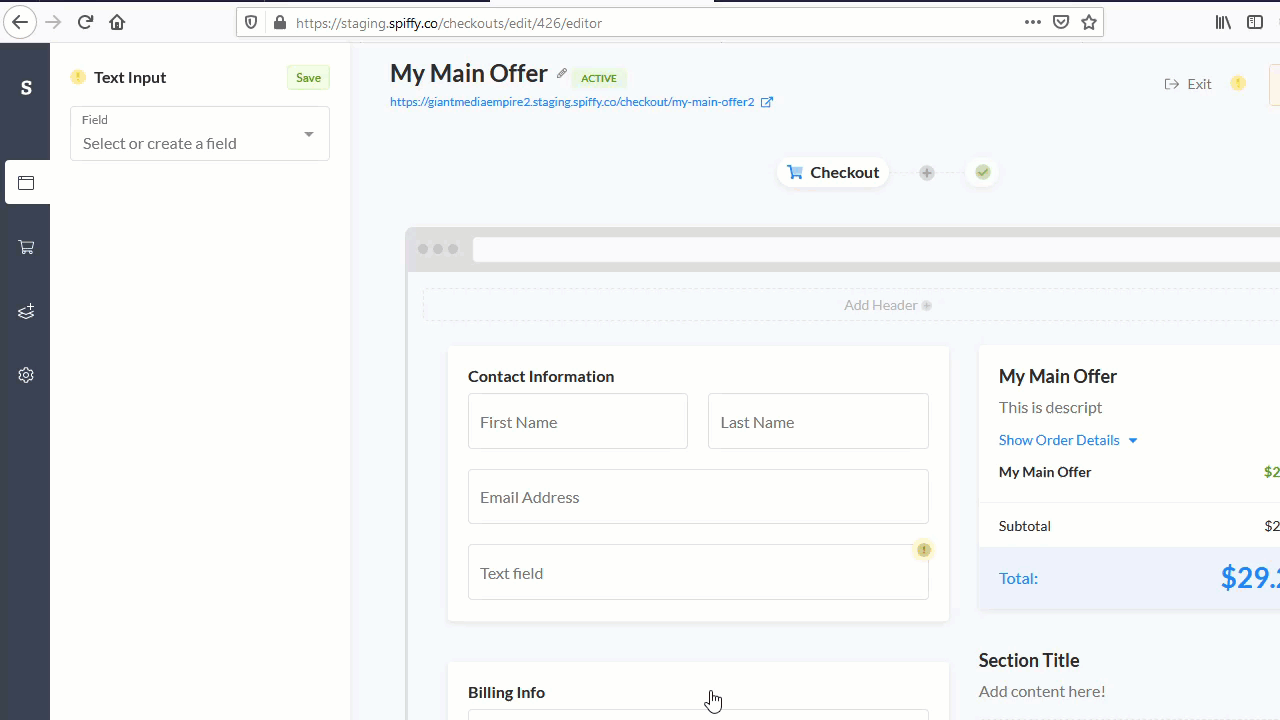
To add an input, while editing a checkout click Add Block in a section in the editor canvas, click Inputs, and select an input block. This will open the Settings panel for your new input.
Save to a Field
All inputs (except Price) require you to select a field to save information to. In the input’s Settings panel you can directly select fields that exist in your integrations, custom fields you have setup, or quick create new fields.
Make an Input Required
In your input’s Settings panel click the Required toggle and save.
Pre-filling Inputs
You can prefill any input by adding the Field ID as a parameter in your checkout’s URL (eg, ?name_first=John). This is great to use in emails that link to your checkout.
Pro Tip: Reducing the number of fields a customer has to fill out is one of the easiest ways to increase your checkout’s conversion rate!