When you integrate your CRM with Infusionsoft, using one of our native integrations, Spiffy will give you the ability to map fields in Spiffy to fields in your CRM. By default, we will automatically map basic fields in Spiffy to your CRM, but you will also have the ability to set up additional mappings for custom fields!
Here are the CRM Integrations that currently support Spiffy field mapping:
- Infusionsoft
- Keap
- Active Campaign
- HubSpot
- MailChimp
- ConvertKit
- GoHighLevel
The following article will cover the areas where you can manage your field mappings. Please review this article as field mapping is more of an advanced feature.
Table of Contents
- Viewing Fields that Spiffy Automatically Maps
- Global Integration Field Mappings from Spiffy Fields Settings
- Integration Field Mapping on the Checkout Level (One-Off Mapping)
Viewing Fields that Spiffy Automatically Maps
When you connect your supported CRM, Spiffy will automatically map a number of basic fields that are required for us to sync data to that CRM. These fields can not be unmapped. To see the fields we automatically map, you will just want to head to your integration settings.
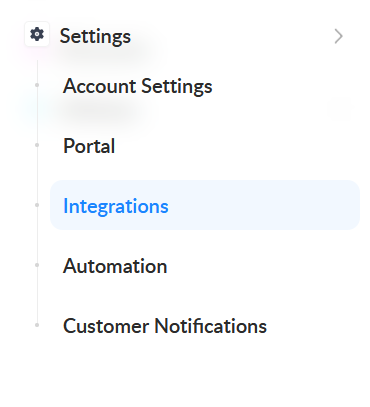
In the bottom left navigation, select Settings > Integrations
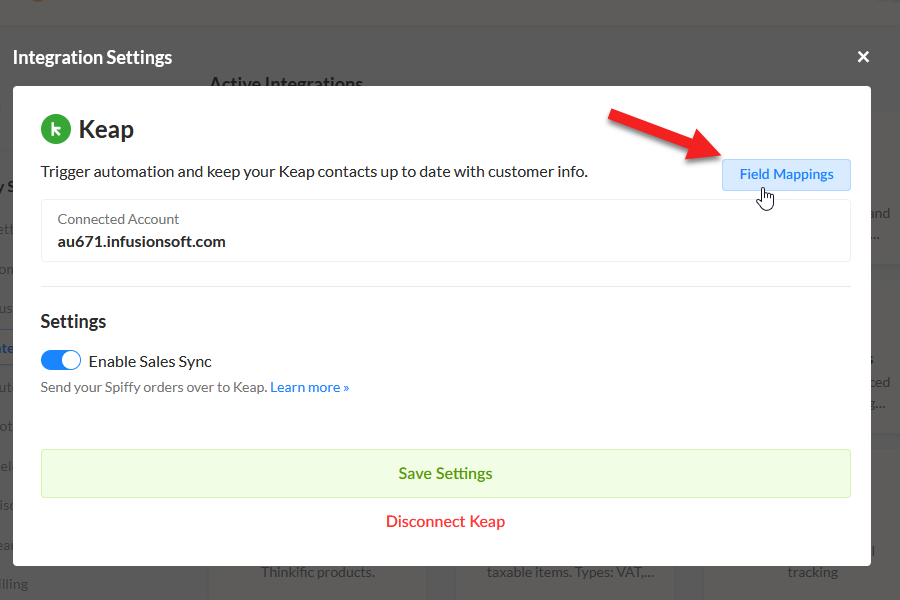
Select your connected CRM integration and click the Field Mappings button (If you haven’t connected one, you will need to do so before accessing this feature)
Here, you will be able to view the list of fields we automatically map in your integrated CRM. This list will vary based on the CRM you have connected, as some CRMs, like ActiveCampaign, don’t include fields like ‘Address’ by default.

You can create additional mappings here, by clicking ‘Add Mapping’ but we will show you an easier way to manage this in the next section, so be sure to check that out.

Global Integration Field Mappings from Spiffy Fields Settings
Spiffy does not have the ability to create custom fields in your integrated CRM, so be sure to create any custom fields in your CRM before using these settings to map additional fields in Spiffy to your integrated CRM
When you manage your integration field mappings from the Fields tab in the left navigation, you will be able to create custom customer & order fields to use on your checkouts, and map them directly to fields in your integrated CRM.
When fields are mapped to your CRM in this way, you can be sure that any time you use that field for an input/option on your checkout, the field will already be mapped to a field in your CRM and sync the value over when an order is placed!
To get started, just click on Fields in the left navigation menu.

From here, you can create new custom fields in Spiffy OR click on an existing custom or standard field to manage it’s integration field mapping
When you are in the settings for ANY field in Spiffy, you will see a section named ‘Field Mapping Settings’.
Just select your integration from the dropdown, and navigate through until you find the field from your CRM that you would like to map in Spiffy. Some CRM integrations separate fields by type (Customer/Order Etc)
When you have selected a field in your Integration to map, just click ‘Save’
Now, any time the Spiffy field is used on a checkout, it will automatically sync the value set on the checkout to the field you selected in your integrated CRM!
If you are already using the Spiffy field on your checkouts, then moving forward, the integration mapping will automatically start syncing the field value moving forward!
Integration Field Mapping on the Checkout Level (One-Off Mapping)
Our final option for integration field mapping takes place in the checkout editor. While we do recommend using the previous option of mapping the fields in the Spiffy Field settings, this option would allow for you to quickly tie a field on a checkout to a field in your integrated CRM on a “one off” basis.
From a checkout that contains a field or option block, click to edit the field/option settings

From the Field/Option’s settings, click the ‘Save to a field’ button

In the ‘Field’ dropdown that appears. click and scroll to the bottom. Here, you should prominently see your integration.
Click on your integration, and continue to navigate to the field in your CRM that you would like to map the input too. Note: Some integrations group fields by type (Customer/Order etc), so you may need to click into one of these groups to find your field from your CRM
Once you have selected your integration field to map, you will see it selected in the ‘Field’ dropdown with a little logo for your CRM to indicate that this is a one-off integration field mapping for this checkout.

Be sure to click ‘Save’ and when you are ready, ‘Republish’ the checkout to have the changes take effect.