When setting up your Subscription Products, you may want to setup subscription-specific purchase and billing automations to tailor customer communication, and internal processes for individual plans.
For example, your subscription gives access to an online course, and if someone cancels a specific subscription plan, you want to make sure access to a specific course is removed, specific tags are applied, specific emails are sent with tailored messaging to that membership, etc.
Subscription-specific automations are setup in Group settings on each subscription product dashboard.
Simply create a Group as a container to group your plans together, and create automations that only apply to the specific plans within that Group.
Overview of How to Use Groups
You can add one or multiple Groups to a Subscription Product.
If you have tier-based pricing, and you want to setup different subscription automation for monthly and annual plans within different tiers, you would create a Subscription Group for each of your tiers and add your monthly and annual plans to the correct group.
If you want to tailor automation for a single plan, you can create a unique group and add a single plan to that group.
If you don’t need different automation for different subscription plans, you can add all of your plans to a single group.
Create a Group
From your Subscriptions page, click on an existing subscription product, or create a new subscription product.
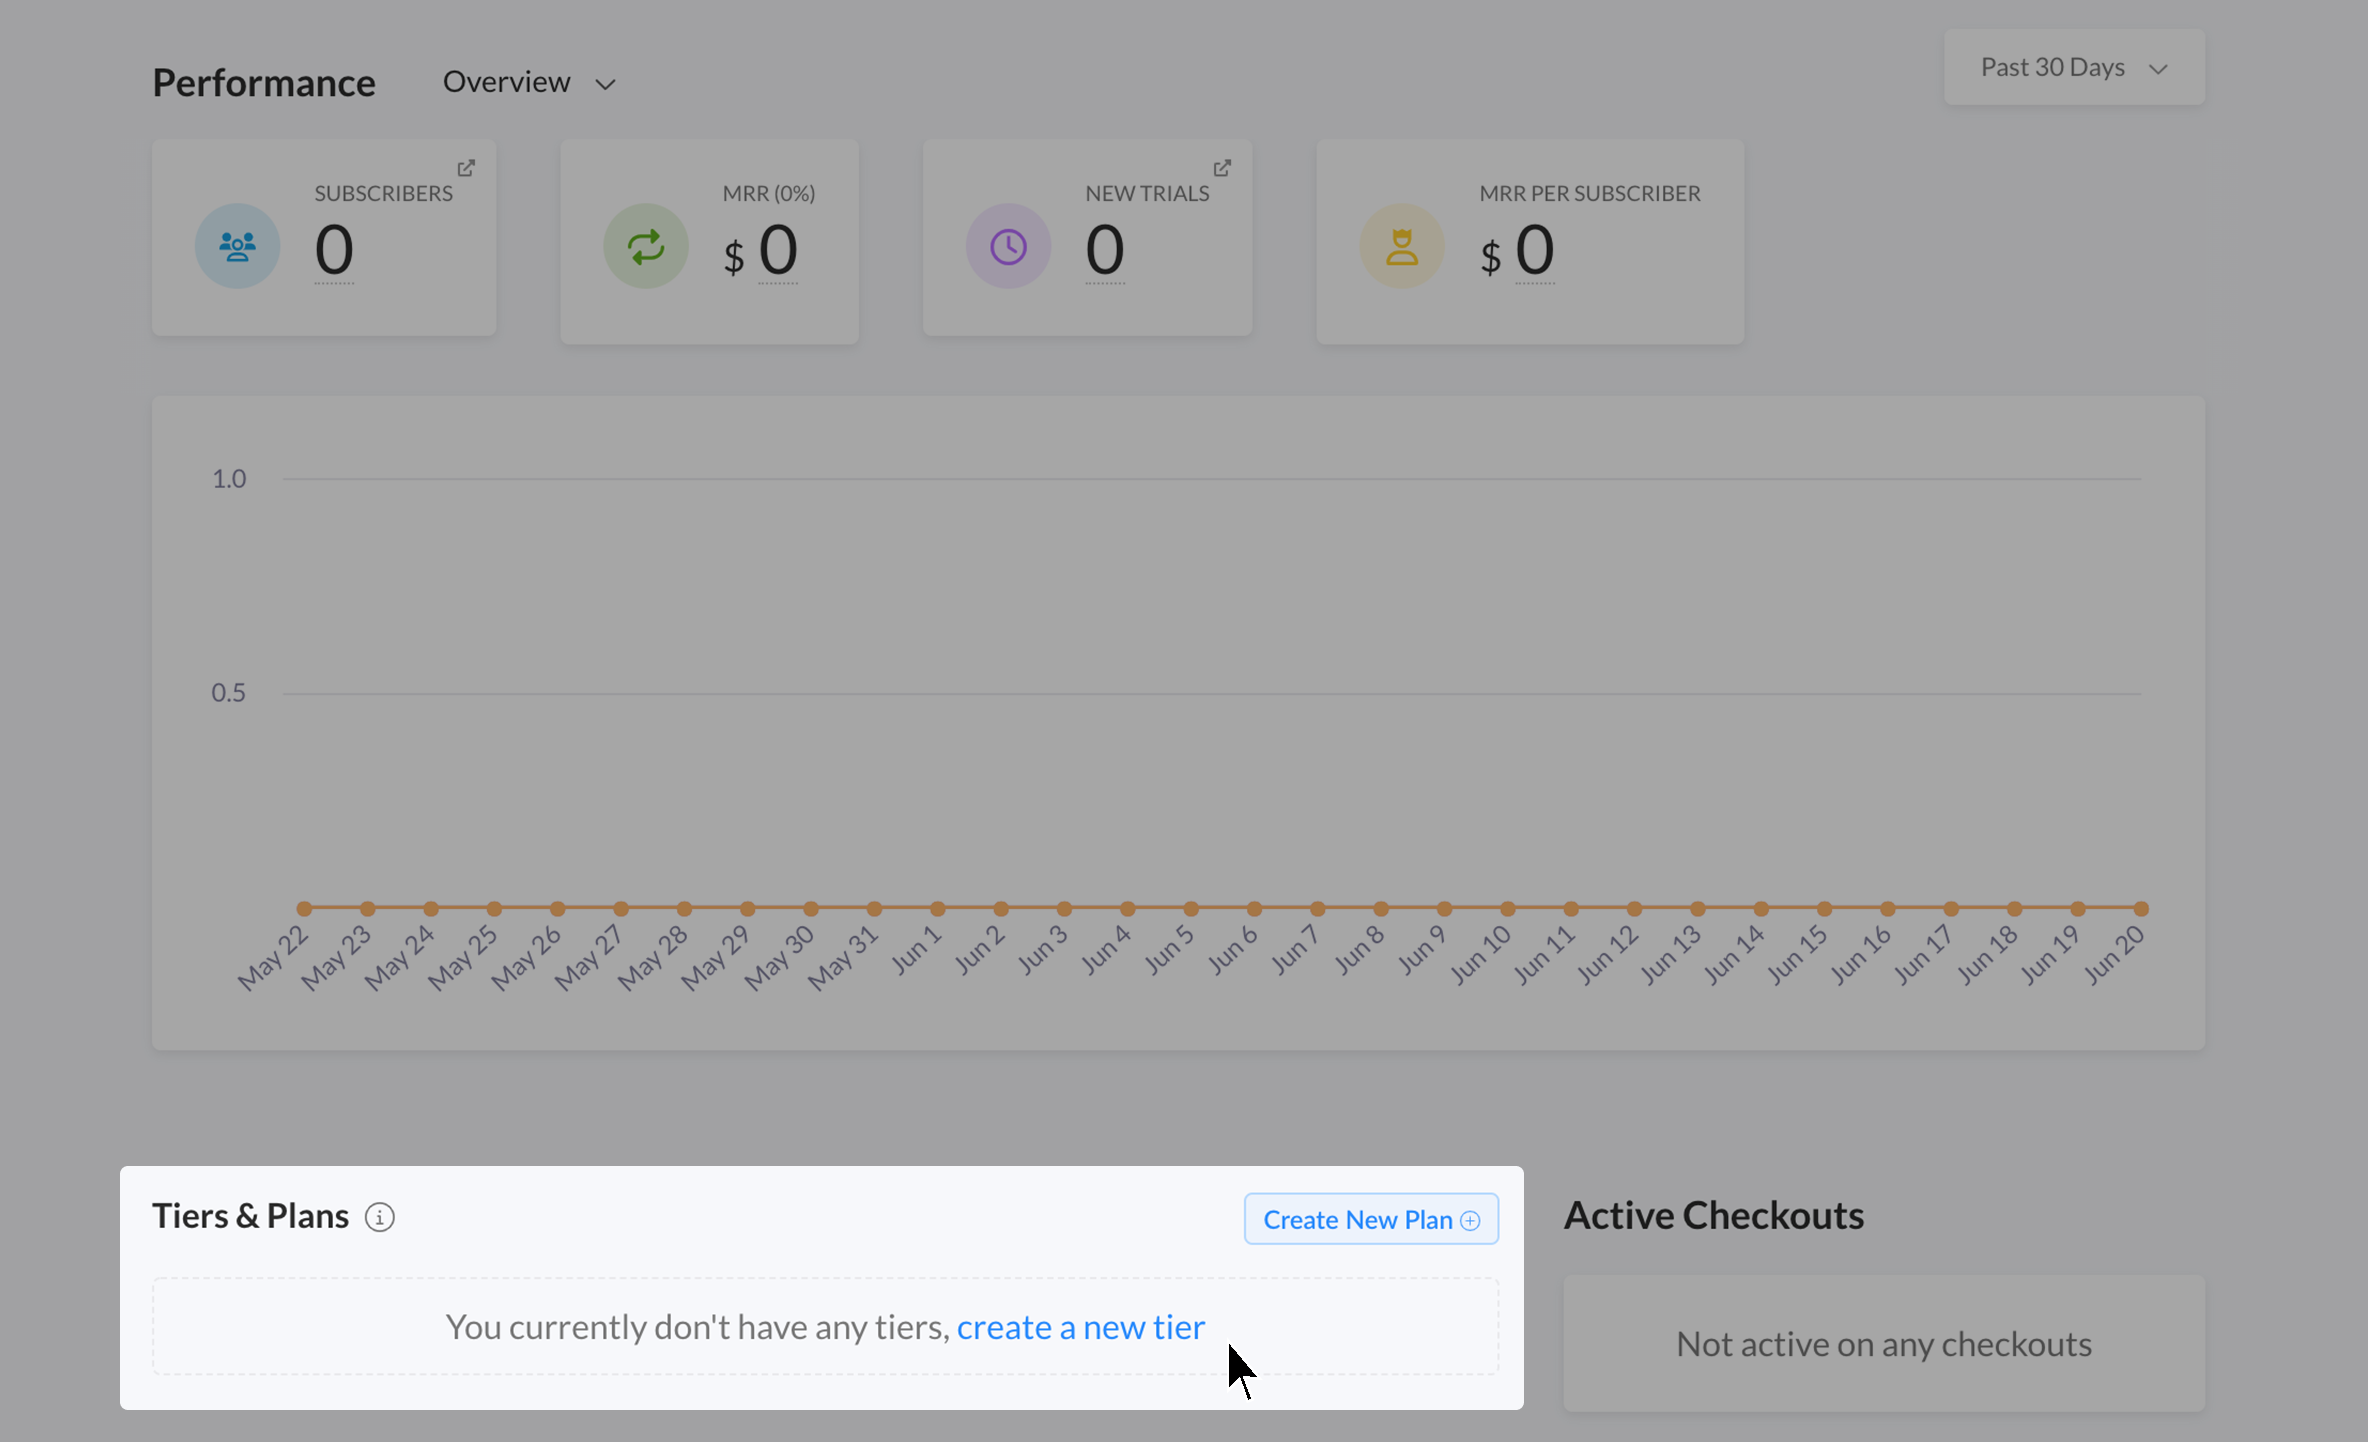
Scroll down below the main dashboard graph, and under Groups & Plans, click on the blue box or the hyperlink that says, Create New Group.
Set a name for your Group. The Group name is not customer-facing, so it will not show up on your Checkouts, Receipts, or in the Customer Portal.
And click Create.
You will be prompted to create a Subscription plan, however, you may have already created your subscription plans.
If you have NOT created a plan yet, you can create a plan here and it will automatically be added to this Group.
If you’ve already created your plans, you can click the “X” at the top right of the box, or click Cancel.
You will see your new empty Group below the plans that you have already created. Your plans have a Mover icon that you can click to move your existing subscription plans to your new Group.
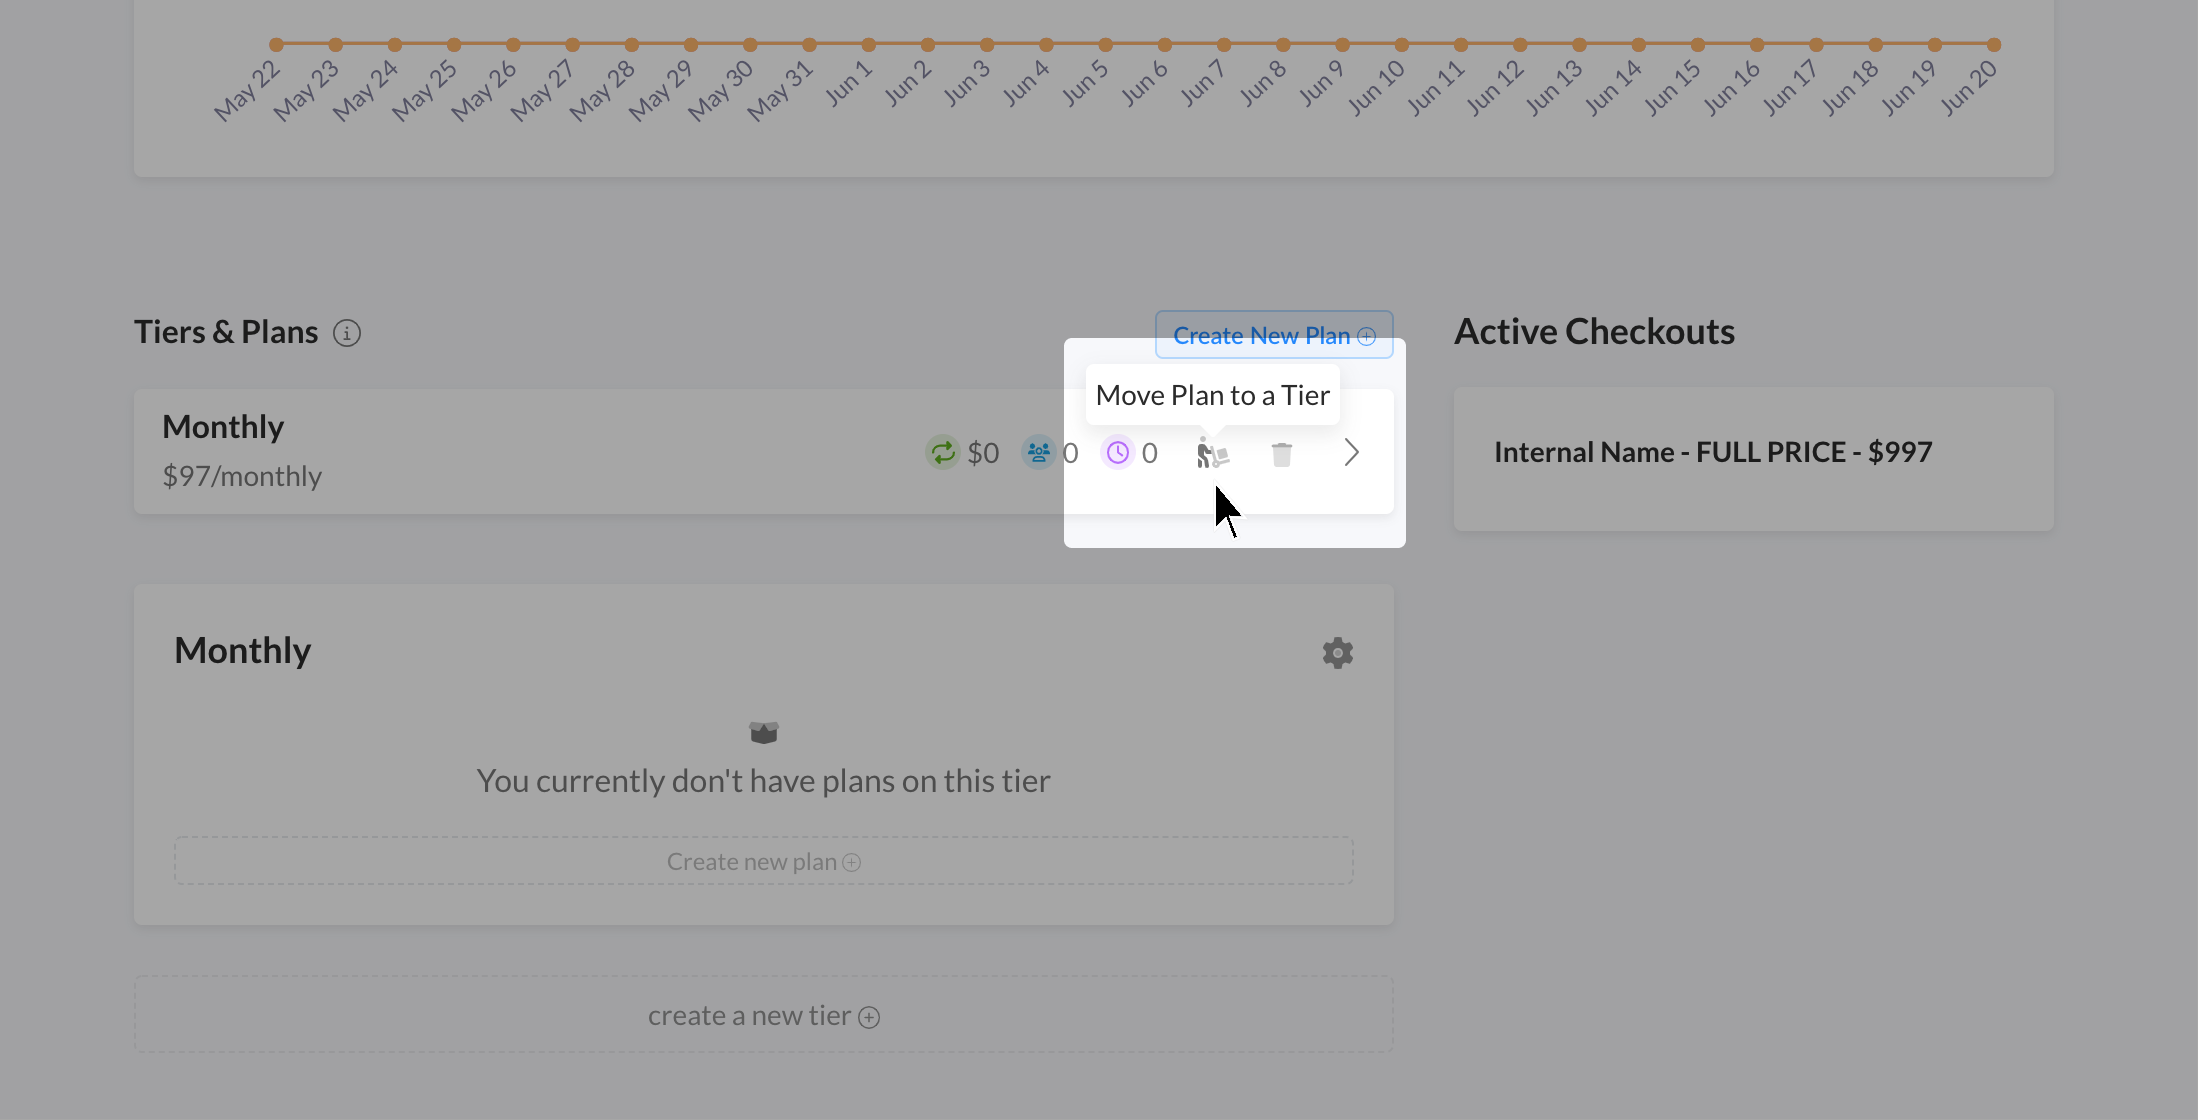
Note: Plans can be moved between groups, and subject to the new group automation events.
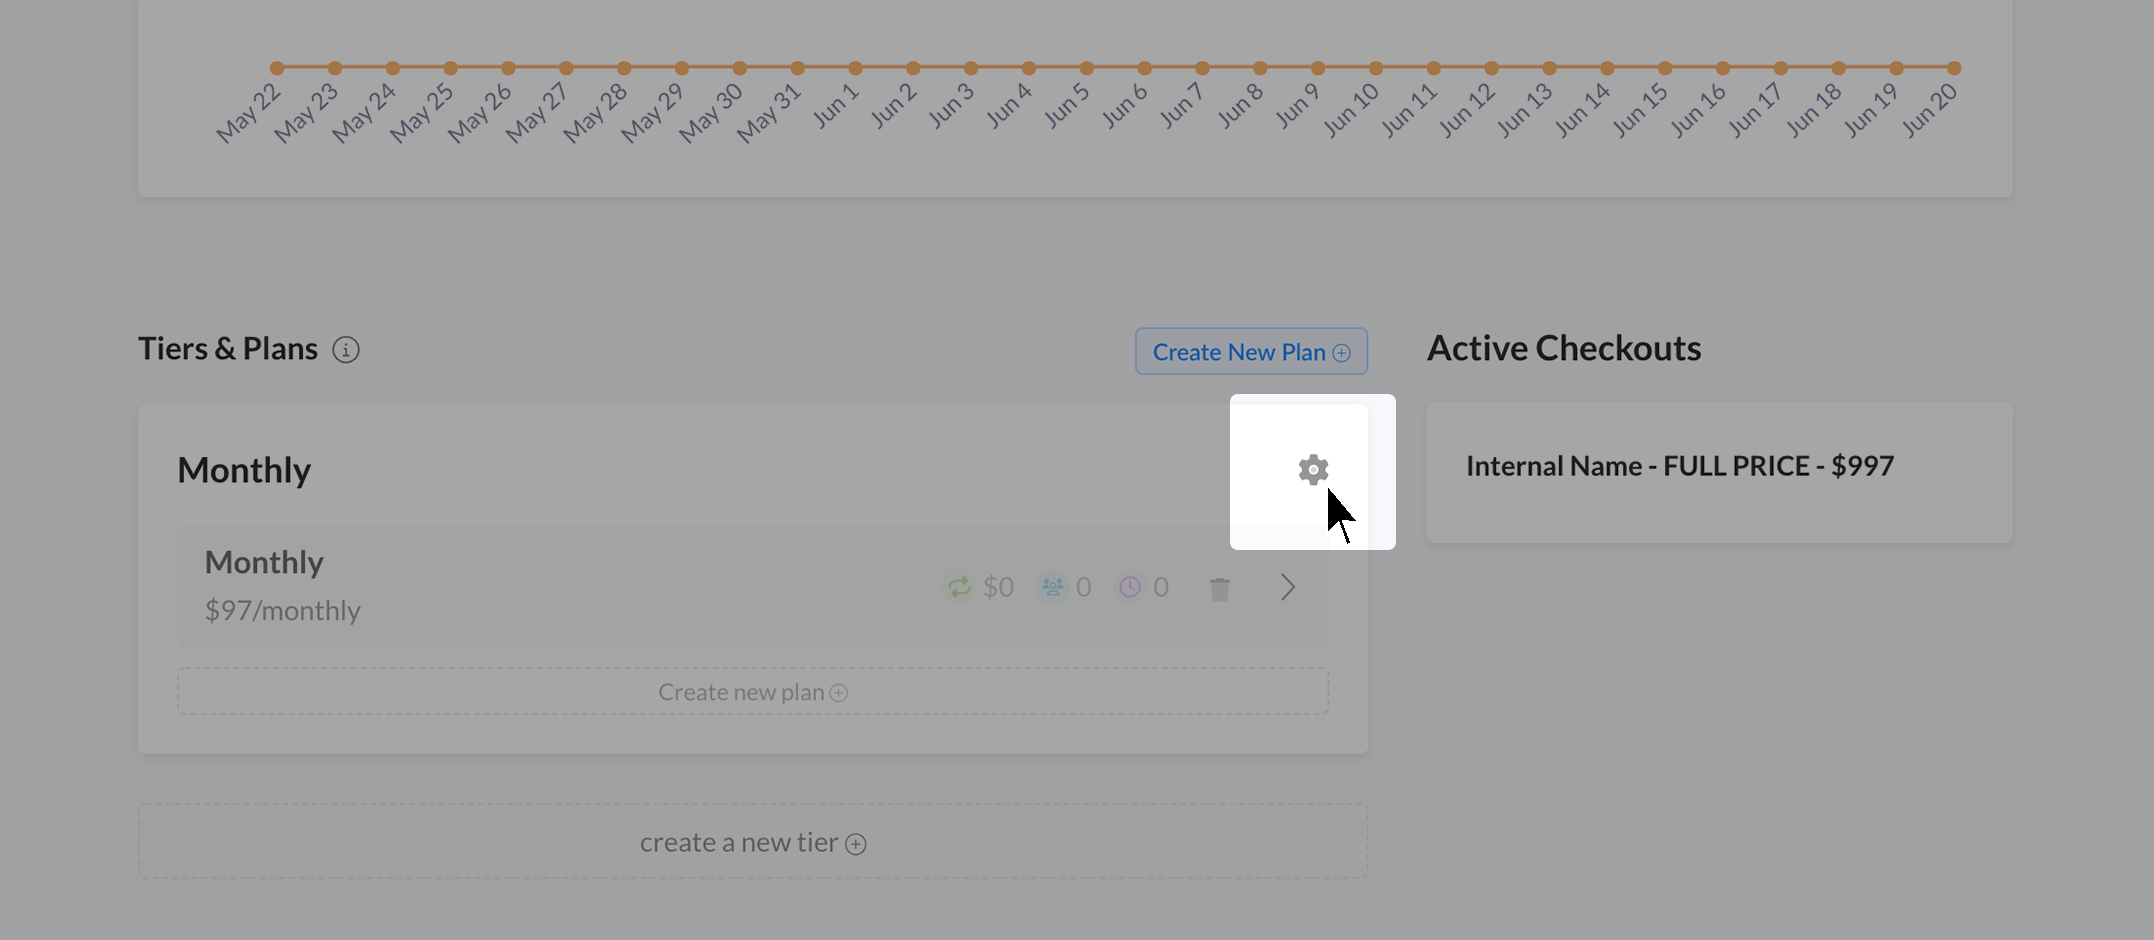
Once you’ve added your plan(s) to your new group, you can click on the gear icon at the top right corner of the Group, to set up Subscription Automations that will run only on the plans within that group.
Subscription Automation
Now that you’ve created your Group, and added your plans to the Group, you can start to set up your Subscription-specific automations at the Group level.
Read more about How to Setup Subscription Automation.